How to Decorate Your Room with AI: Simple 5-Minute Guide (Free, No Designer)

Introduction
You're staring at your bedroom walls and wondering: "What would this space look like with that new color? Would that furniture arrangement actually work? Can I afford to hire a designer?"
What if you could see the answer in seconds—without paying $2,000–$5,000 to a professional, without your smartphone becoming a Pinterest black hole, without second-guessing your choices?
AI room decoration is making this possible for anyone with a smartphone. In just 5 minutes, you can:
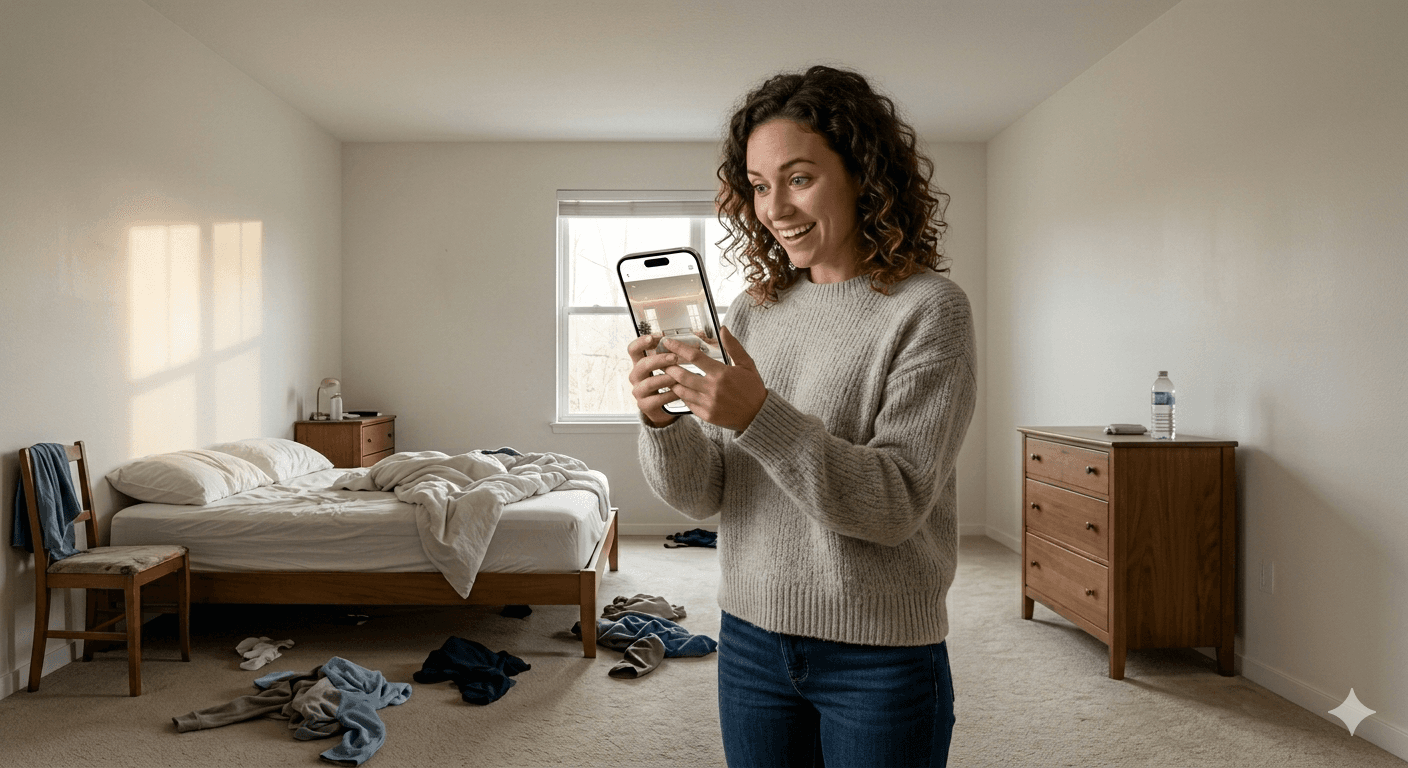
- Upload a photo of your room
- Select a design style
- Get instant, professional-quality visualizations
- See exactly how different furniture, colors, and layouts will look
AI tools now let you upload a photo of your room and see it redesigned in seconds with 61+ styles from Modern to Bohemian—with no signup required and no designer fees. Here's what you'll learn in this guide: the exact 5-step process to decorate your room with AI, real room transformations, common beginner mistakes, and pro tips from interior designers who now use AI themselves.
Why Decorating With AI Is Better Than You Think
Most people assume AI room decoration produces fake-looking renders that don't translate to real life. They worry it's complicated, or that you need technical skills. Here's what actually happens:
It's Faster Than Any Alternative
Traditional Interior Designer: 8–16 weeks from first consultation to final design. DIY Inspiration (Pinterest/Magazines): 4–8 weeks of research and decision-making. AI Room Decoration: 5–10 minutes from photo to multiple design options. You're not waiting. You're not deliberating for weeks. You upload a photo, pick a style, and see 5–10 professional concepts instantly.

The Accuracy Is Surprisingly High
Modern AI doesn't just shuffle furniture around—it understands spatial proportions and scale, how light interacts with colors, furniture arrangement for optimal flow, and design principles like balance, contrast, and emphasis. The result? Visualizations that are 85–90% accurate to how your room will actually look.
It Costs Virtually Nothing
- Free tier: 1–3 designs per week
- Premium subscription: $9–$25/month for unlimited designs
- Compare to: Professional designer costs $50–$150/hour, with projects ranging $5,000–$50,000+
You Maintain Complete Control
Unlike hiring a designer who interprets your vision (sometimes incorrectly), AI gives you infinite options. You can generate 50+ variations of the same room, adjust colors, furniture, lighting, and layouts, compare different design styles side-by-side, and keep refining until it's exactly what you want.
What You Need (Minimal Requirements)
The beautiful part about AI room decoration: there's virtually no barrier to entry.
Required:
- A Smartphone or Computer — Any modern device with a camera works. No special apps to download (most tools are web-based). No processing power needed (AI runs on company servers)
- A Photo of Your Room — Taken from any angle. Phone camera quality is fine. Natural lighting works best
- 2–5 Minutes — That's literally all the time you need to generate designs
What You Don't Need:
- Design experience
- Technical knowledge
- A specific style already chosen
- A large budget
- An interior designer
- Expensive furniture to try out
Step 1: Take a Perfect Room Photo
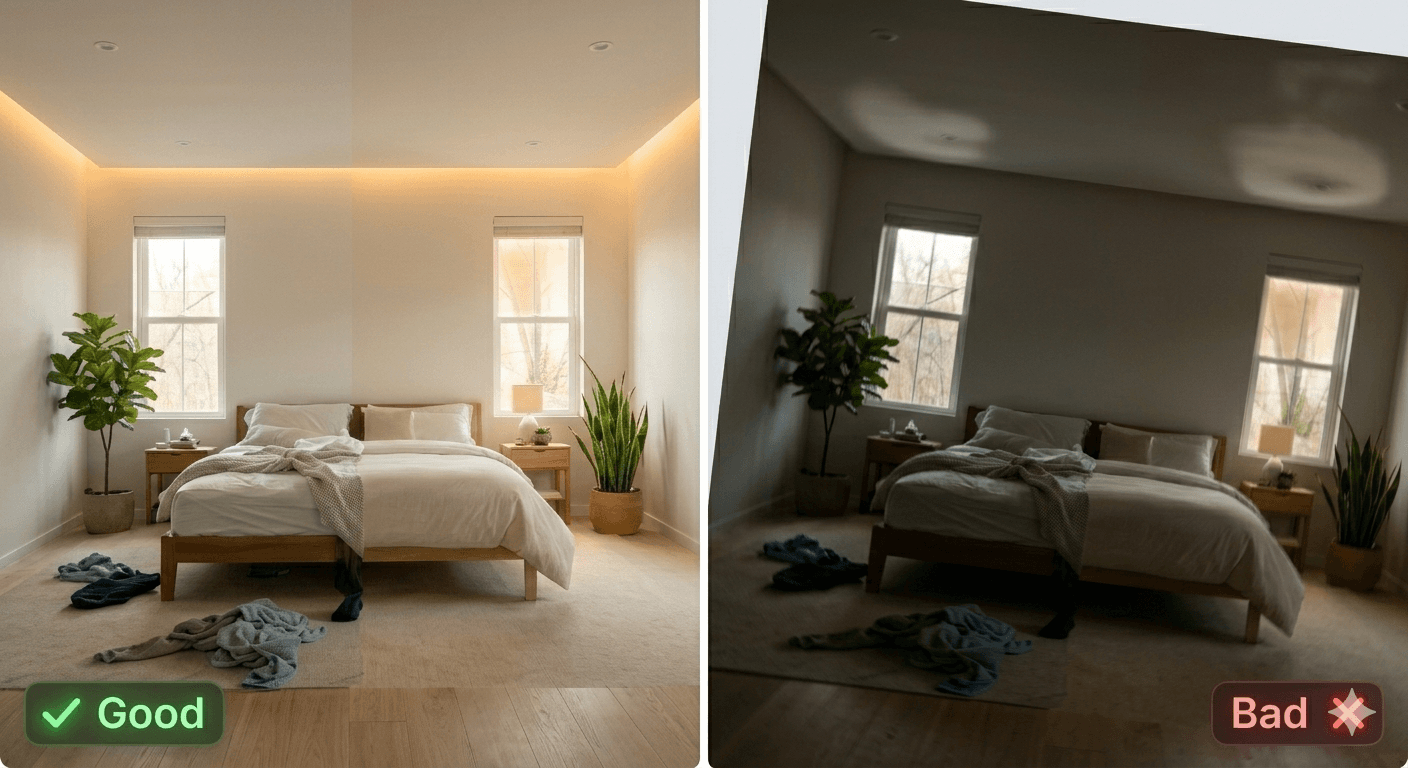
This is the most critical step. The quality of your photo determines the quality of your AI designs. A poor photo means poor results. A great photo means professional-looking designs.
The Setup (Pre-Photo)
- Remove obvious clutter (dirty laundry, papers, trash)
- Keep furniture and items you plan to keep
- Open all curtains/blinds to maximize natural light
- Ideal time: Mid-morning or afternoon (10 AM – 3 PM)
- Avoid: Early morning shadows, direct sunset glare, nighttime
The Camera Technique
- Hold phone/camera at chest/head height (eye level)
- Stand in the doorway or center of the room
- Aim the camera straight across (not angled down or up)
- Capture as much of the room as possible without extreme wide-angle distortion
- Stand 6–10 feet from the far wall (depending on room size)
The Perfect Shot Checklist
- Lighting is bright and even (no dark shadows)
- Entire room visible (walls, floor, ceiling)
- Camera is straight (not tilted or angled)
- Focus is sharp (tap to focus on center of room)
- No extreme wide-angle distortion
- Photo is recent and shows current condition
Pro Tip: Take 3–4 photos from slightly different angles. You can test them all with the AI. Some may produce better results than others depending on how the algorithm interprets the space.
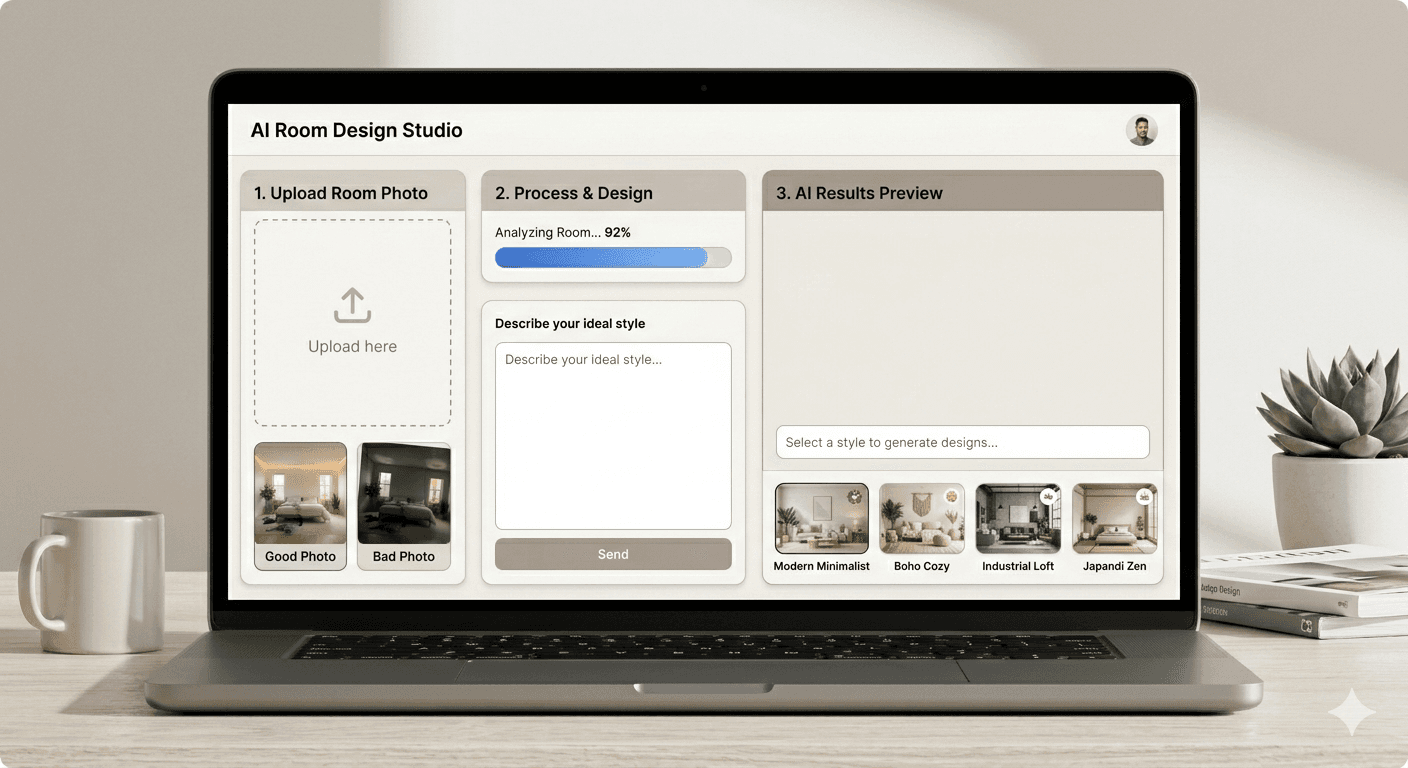
Step 2: Upload and Process Your Image
Popular options for room decoration in 2026:
- Decory.ai — Simplicity and instant results. 2–3 designs/month free. 30-second generation time
- Interior AI — Realistic renders. 3 free designs. 45-second generation time
- Canva AI Interior — Design flexibility. 3 free attempts. 60-second generation time
- RoomGPT — Multiple styles. Unlimited free. 45-second generation time
- Homestyler — 3D visualization. Free tier available. 2-minute generation time
Recommendation for beginners: Start with Decory.ai or RoomGPT. Both have instant results, require no signup for free tier, and produce high-quality designs.
The Upload Process
- Navigate to the platform and click "Upload Photo" or "Design Your Room"
- Choose the best photo from your 3–4 attempts
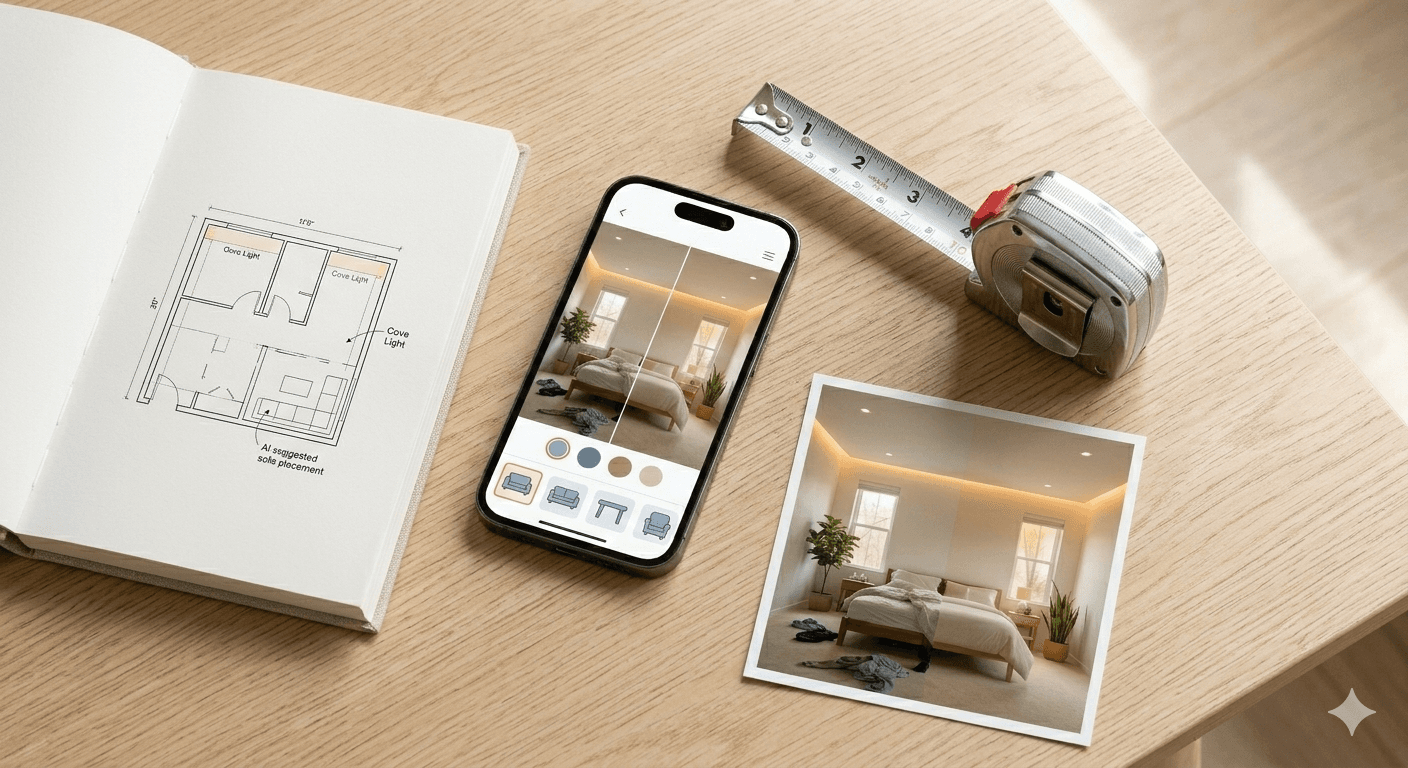
- Input room dimensions (approximate is fine)
- Click "Generate Designs" and wait 30–120 seconds for processing
Behind the scenes, the AI is analyzing room dimensions and proportions, lighting conditions and sources, existing architectural features, wall colors and materials, and your design preferences.
Step 3: Choose Your Design Style
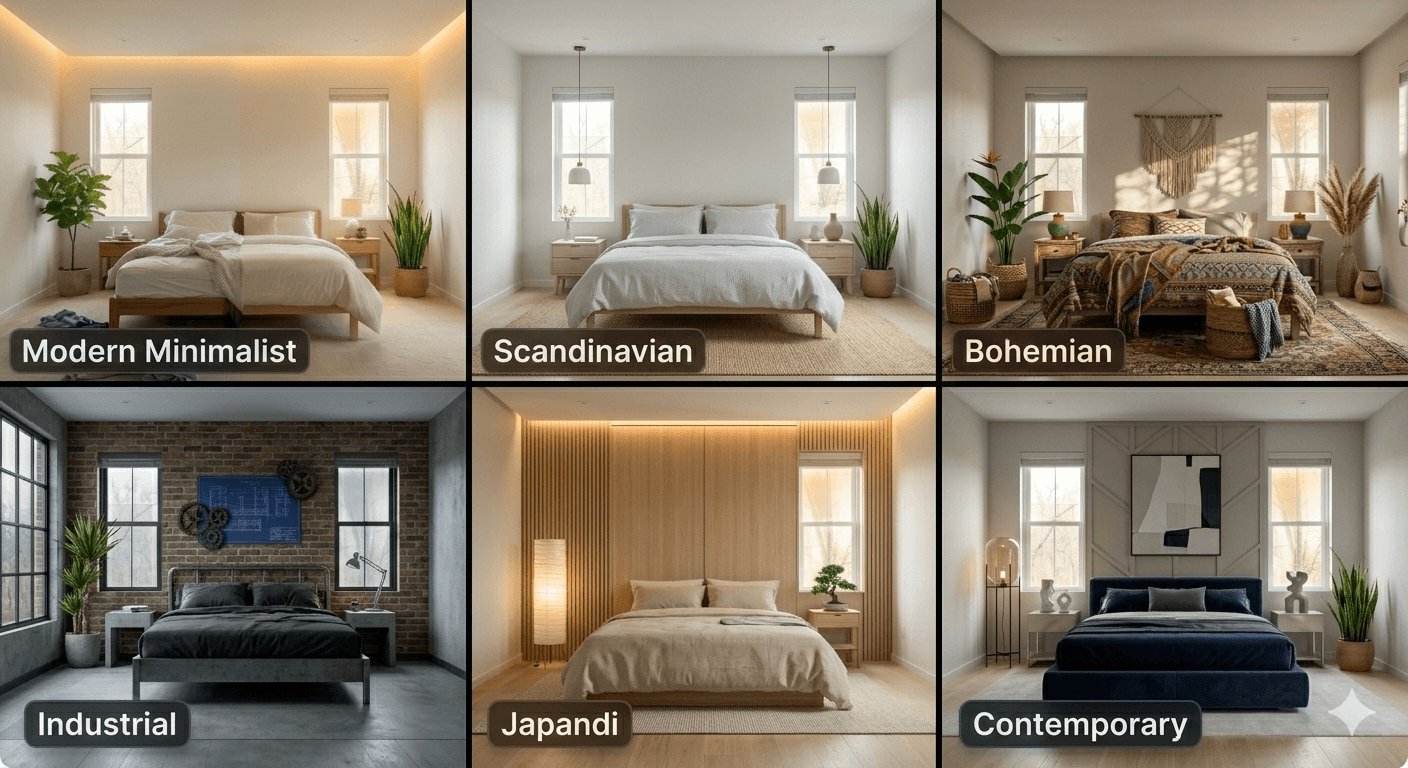
This is where your vision comes into play. The design style you choose determines the aesthetic direction of all AI-generated options. Popular design styles in 2026:
- Modern Minimalist — Clean lines, uncluttered spaces, neutral color palette. Best for: Small spaces, busy professionals, calm aesthetic seekers
- Scandinavian — Light woods, cozy textures, warm neutrals. Best for: Hygge enthusiasts, those wanting warmth without clutter
- Bohemian — Layered textures, warm earth tones, collected aesthetic. Best for: Creative types, those with existing decorative pieces
- Industrial — Exposed brick, metal elements, raw materials. Best for: Urban apartments, those embracing architectural beauty
- Contemporary — Current trends, sophisticated design, bold colors. Best for: Trendsetters, those wanting modern elegance
- Maximalist — Bold patterns, rich colors, curated collections. Best for: Those with personality and collections to showcase
- Japanese-Inspired (Japandi) — Minimalism + natural materials, zen calm. Best for: Those seeking serene, balanced spaces
Pro Tip: If genuinely uncertain, select 2–3 different styles for the same photo. See which generated designs resonate emotionally. That's your answer.
Step 4: Explore and Compare Variations
This is where the AI magic happens. You now have 5–10 professional design concepts at your fingertips. For each design generated, assess:
- Color Palette: Wall colors, accent colors, overall mood—does it feel right?
- Furniture Layout: Is the arrangement functional? Can you move through the space easily?
- Aesthetic Match: Does it align with your inspiration images? Do individual pieces appeal to you?
- Practicality: Could you actually acquire/afford these pieces? Do they fit your lifestyle?
Most people find a design they love within the first 5–10 variations. If you haven't after 20+ iterations, you might be overthinking. Pick your top choice and move forward.
Step 5: Refine and Save Your Favorite
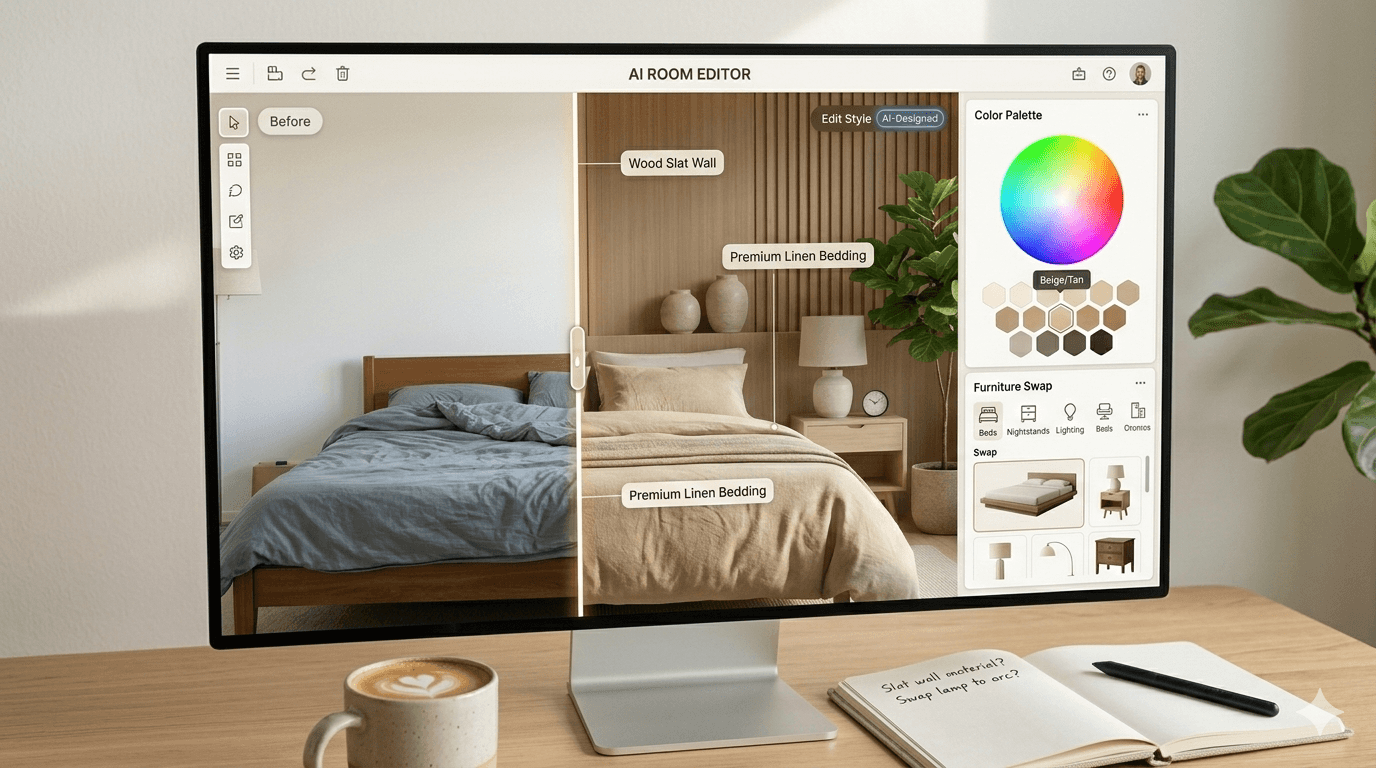
You've found a design direction you like. Now it's time to refine it. Most platforms offer:
- Color Customization — Change specific wall colors, adjust accent color intensity
- Furniture Swaps — Replace specific furniture pieces, test different sofa styles/colors
- Lighting Adjustments — Change lighting fixture style, adjust brightness levels, try different color temperatures
- Detail Tweaks — Add/remove artwork, adjust decor items, change rug color/pattern
Make 1–2 refinements, then save your final design. Document the paint color names, furniture dimensions, and layout notes for implementation.
Implementing Your AI Design in Phases
With your design finalized, implement it strategically:
- Week 1–2: Paint, rearrange furniture, update lighting
- Week 3–4: Add key furniture pieces (bed, dresser, sofa)
- Week 5+: Final touches (décor, art, textiles)
Common AI Room Decoration Mistakes to Avoid
Mistake 1: Uploading Poor-Quality Photos
Dark, cluttered, or angled photos lead to suboptimal designs. Retake your photo following the Step 1 guidelines. A fresh, well-lit photo equals better designs.
Mistake 2: Overthinking Style Selection
Don't generate 50+ designs trying to find "perfect." Pick a direction within the first 5–10 generations. Colors can always be adjusted later.
Mistake 3: Ignoring Your Existing Furniture
Tell AI what you're keeping. Focus on layout and paint suggestions for maximum impact. You don't need to replace everything to achieve a dramatic transformation.
Mistake 4: Committing to Bold Paint Without Testing
Buy $5–10 paint samples. Test on walls. Live with samples for 3–5 days before full commitment. This simple step prevents expensive mistakes.
Mistake 5: Forgetting About Lighting
Even if your AI design includes lighting changes, many people only update paint and furniture. Prioritize layered lighting (ambient + task + accent) for the single biggest impact on room quality.
Pro Tips for AI Room Design Success
- Start with Paint: Investment $100–$200, timeline 1–2 days, visual impact 50% of transformation
- Use Color Psychology: Warm taupe/beige is calming and grounding. Soft sage green is restful. Muted blue is peaceful
- Layer Your Lighting: Ambient, task, and accent lighting controlled separately replaces harsh single overhead lights
- Embrace Negative Space: Clear nightstands, uncluttered shelving, and minimal wall décor make rooms feel calm and spacious
- Invest in Quality Bedding: Your bed is 30% of your bedroom's visual presence and 100% of your comfort
Conclusion
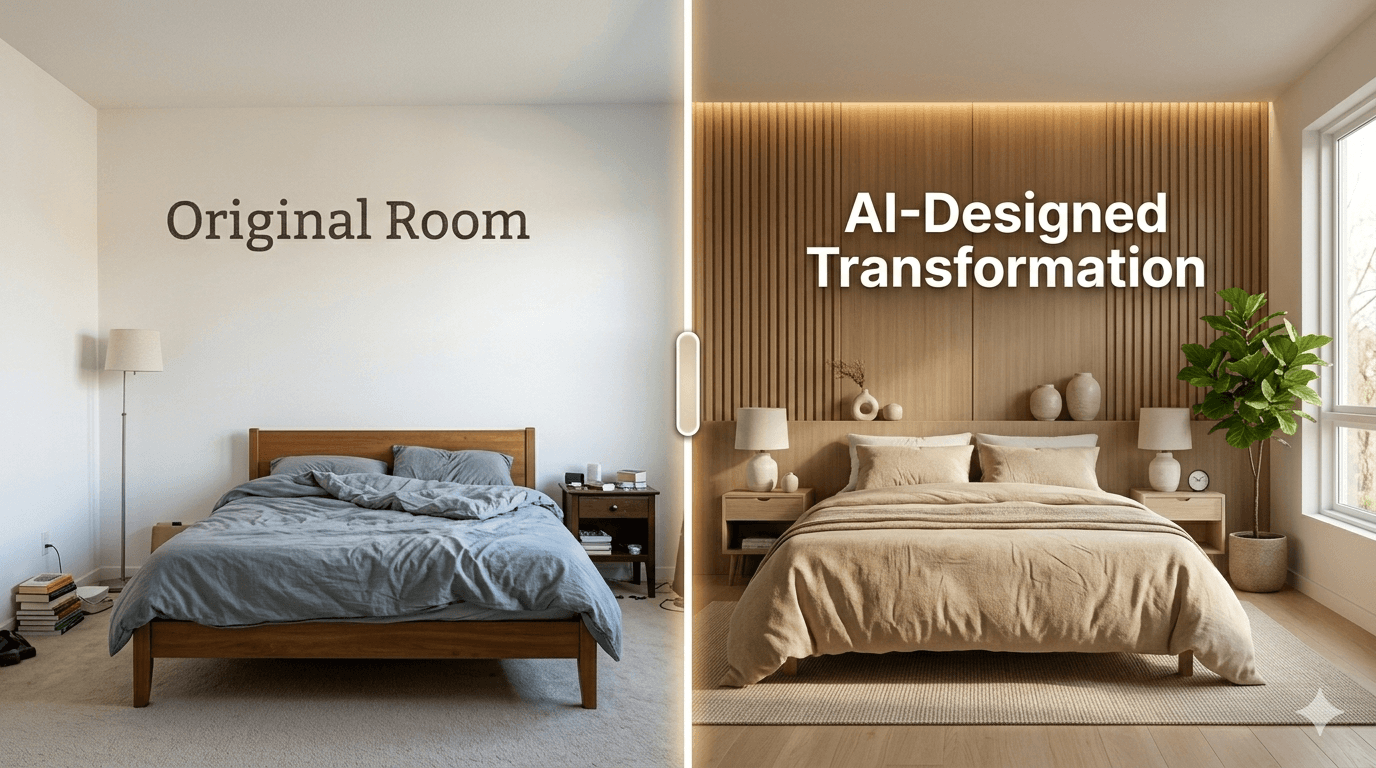
AI room decoration transforms interior design from an expensive, time-consuming, high-risk decision into a fast, affordable, low-commitment experiment. You see results before spending anything.
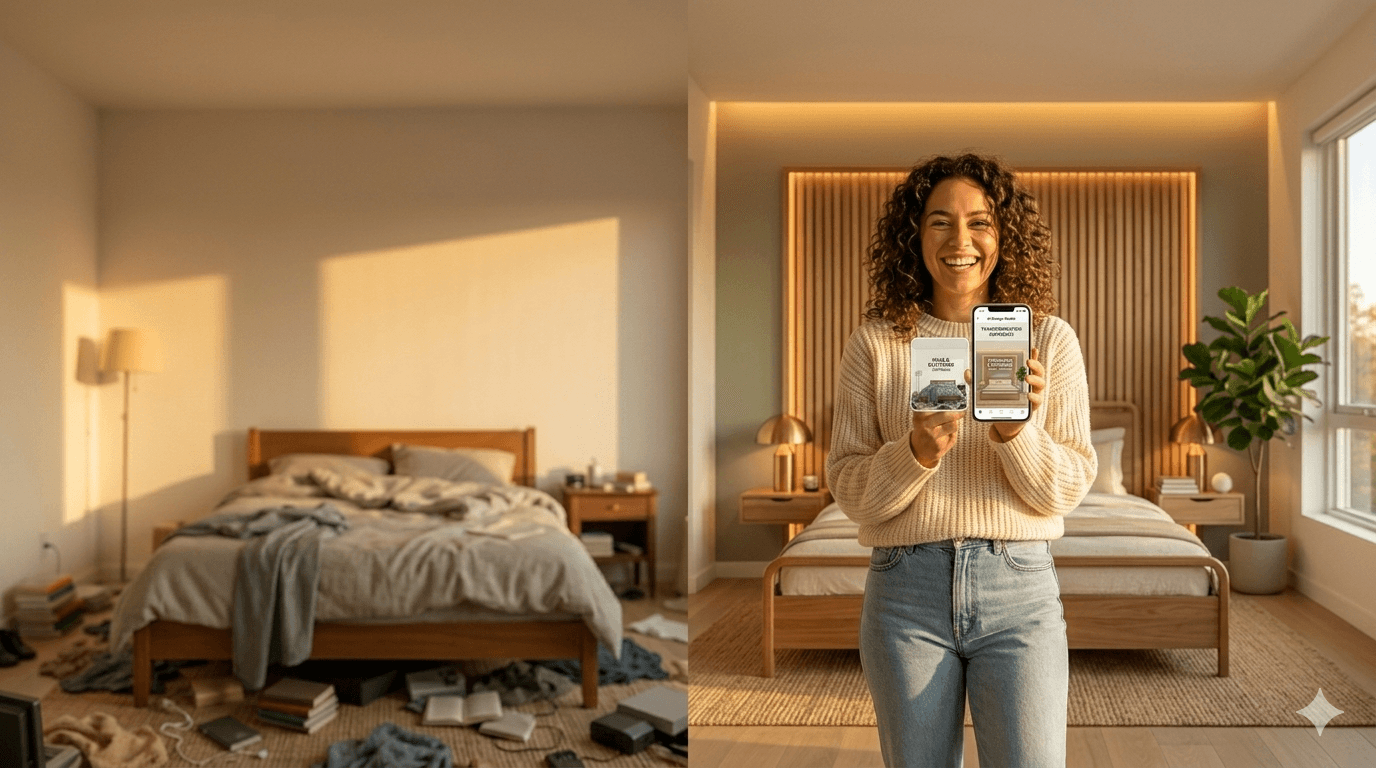
Your next step is simple: take a clear photo, choose a platform like Decory.ai, upload the photo, select a style, explore the generated designs, save your favorite, and implement in phases. Within 2–4 weeks, you'll have a room that actually reflects your style.
Ready to Transform Your Space?
Use Decory's AI-powered design tools to visualize your transformation. Upload a photo and explore endless possibilities in seconds.
Try Decory AI Now
